
Making a key lime pie starts with crushing those graham crackers, aiming for fine crumbs that stick together when pressed. You’ll be mixing butter and sugar into the crumbs, pressing that crust into the pan with your fingers or the back of a spoon. Expect a messy, sticky process that gets your hands a little greasy but worth every crumb.
The filling comes together quickly—squeeze fresh lime juice and zest, then whisk it into sweetened condensed milk and eggs. Pour it into the crust, then bake until just set, watching for that slight jiggle in the center, like a gentle shake that still holds.
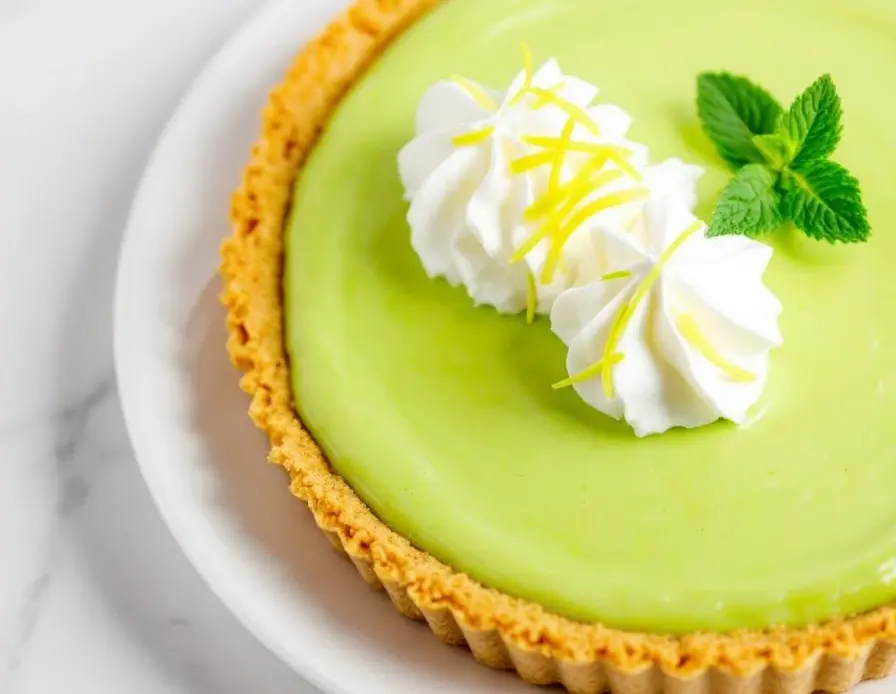
The crack of the graham cracker crust under the fork, each bite releasing a faint buttery crumble that contrasts with the sharp, zesty lime filling.
What goes into this dish
- Graham cracker crumbs: I crush these with a rolling pin—aim for fine, uniform crumbs that press easily. Skip if you’re out, but avoid pre-made crusts, as homemade feels more rustic and crispy.
- Sweetened condensed milk: It’s the creamy backbone—sweet, rich, and sticky. Try evaporated milk with a splash of sugar if you need a lighter option, but it won’t be quite as luscious.
- Fresh lime juice: Bright, zesty, with a punch that wakes up your senses. Bottled juice is okay, but fresh-squeezed makes all the difference—look for that clean, citrus aroma.
- Lime zest: Adds aromatic zing—use a microplane and don’t skip it. If you don’t have fresh, a dash of bottled zest extract can boost flavor, but it’s never quite as vibrant.
- Eggs: They firm up the filling—use large, fresh eggs. If you’re worried about raw, gently temper first or use pasteurized eggs, but fresh eggs give the best texture and flavor.
- Butter: Melts into the crust, adding richness—use unsalted. For a slight nutty flavor, a touch of browned butter works wonders, but regular melted butter keeps it simple.
- Optional toppings: Whipped cream or meringue—make it airy and light, or skip for a clean, tangy slice. Fresh berries add a burst of color and flavor if you’re feeling extra.
Key Lime Pie
Ingredients
Equipment
Method
- Combine the graham cracker crumbs, sugar, and melted butter in a mixing bowl. Mix until the crumbs are evenly coated and resemble wet sand.
- Press the crumb mixture firmly into the bottom and up the sides of a 9-inch pie pan, using your fingers or the back of a spoon to create an even crust. Chill in the fridge while preparing the filling.
- In a separate bowl, whisk together the eggs, sweetened condensed milk, lime juice, and lime zest until smooth and well combined. You’ll notice the mixture turn slightly frothy and fragrant.
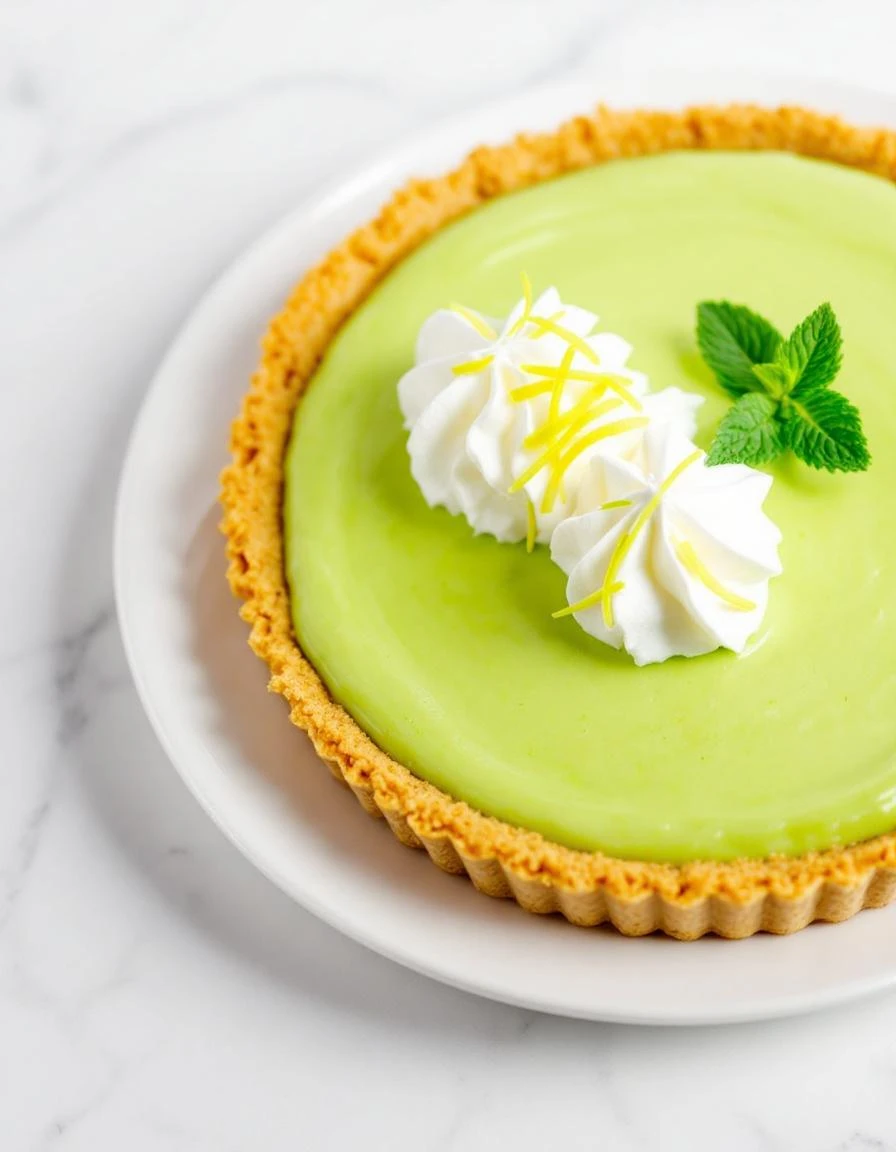
- Pour the lime filling into the chilled crust, spreading it evenly with a spatula or the back of a spoon. The filling should look glossy and vibrant green.
- Bake the pie in a preheated 350°F (175°C) oven for about 15 minutes, or until the edges are set but the center still jiggles slightly when shaken. The filling will firm up as it cools.
- Remove the pie from the oven and let it cool to room temperature. Then refrigerate for at least 4 hours, preferably overnight, to allow the flavors to meld and the filling to set completely.
- Before serving, optionally top the pie with whipped cream or fresh berries for a decorative and flavorful touch. Slice with a clean, sharp knife and enjoy the vibrant, zesty flavor with a crisp crust.
Common Mistakes and Fixes
- FORGOT to pre-bake the crust, resulting in a soggy bottom. Fix by blind baking for 10 minutes.
- DUMPED the filling into a hot crust, causing cracks. Let the crust cool completely first.
- OVER-TORCHED the pie edges, leading to burnt flavors. Cover edges with foil halfway through baking.
- MISSED the jiggle test, resulting in undercooked filling. Slightly shake—center should wiggle like jelly.
Make-Ahead and Storage Tips
- Crust can be prepared and baked a day ahead; keep it wrapped tightly at room temperature or in the fridge.
- Filling can be made a day in advance—cover and refrigerate for up to 24 hours. It may thicken slightly overnight.
- The pie tastes better after chilling at least 4 hours, but overnight in the fridge helps flavors meld and filling set fully.
- Freezing is possible for up to a month; wrap tightly in plastic wrap and foil. Thaw in fridge before serving.
- Reheat is rarely needed; if the pie is cold straight from fridge, let it sit at room temp for 15 minutes for softer texture.
- Flavor intensifies and the filling becomes creamier after a day or two, but avoid freezing more than a month to prevent freezer burn.
FAQs
1. How should Key Lime Pie smell when ready?
The tartness hits your nose first, then a mellow sweetness that lingers on your tongue as the lime aroma fills the room.
2. How do I know when the pie is cooked?
It should be firm around the edges but still jiggle slightly in the center when you gently shake it, like a gentle wave.
3. How long should I refrigerate before serving?
Chill the pie at least 4 hours—overnight is better—so the filling firms up and the flavors deepen, smelling bright and slightly tart.
4. How long does Key Lime Pie keep?
Store leftovers in an airtight container in the fridge for up to 3 days; the crust softens a bit but the filling stays lush.
5. Can I warm up the pie?
Reheat just slightly in a warm oven for a few minutes until the crust regains some crispness, but best enjoyed cold for that creamy bite.

Hi, I’m Jonny Andrew Miller, the cook, taster, and slightly messy mind behind Bite & Boom. I live in Austin, Texas, a city that smells like barbecue smoke, fresh tortillas, and late-night tacos if you wander long enough. It suits me.
