
A holiday snack board isn’t just about pretty colors and assorted nibbles. It’s about creating a centerpiece that invites chaos and joy, where every dip, cracker, and cured meat tells a story. I love the freedom it gives to the table, making it a little messy, a little spontaneous, and utterly inviting.
This board feels like a snapshot of the season — a mix of nostalgic flavors and unexpected twists. It’s perfect for those moments when you want to gather, share, and nibble without fuss. Honestly, it’s more about the memories made around the snacks than the snacks themselves.
Why I Keep Returning to This Snack Board
This snack board is my go-to for every gathering, big or small. It’s a canvas for my creativity and a way to make everyone feel at home. The mix of flavors and textures keeps me excited to assemble it again and again. Plus, it’s a simple way to bring joy without fuss, especially during busy seasons.
Key Ingredients for a Festive Spread
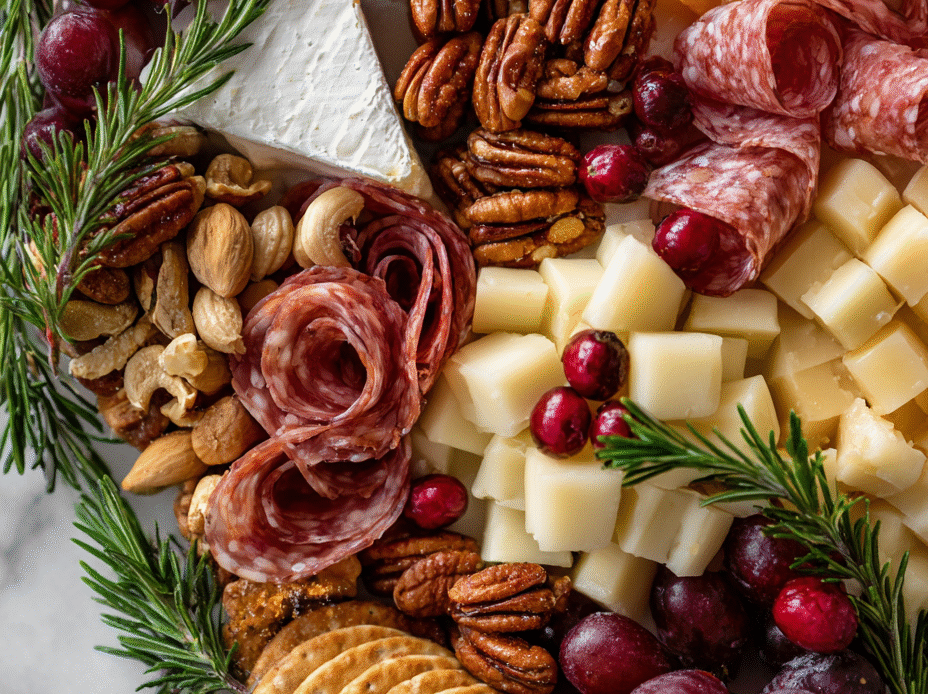
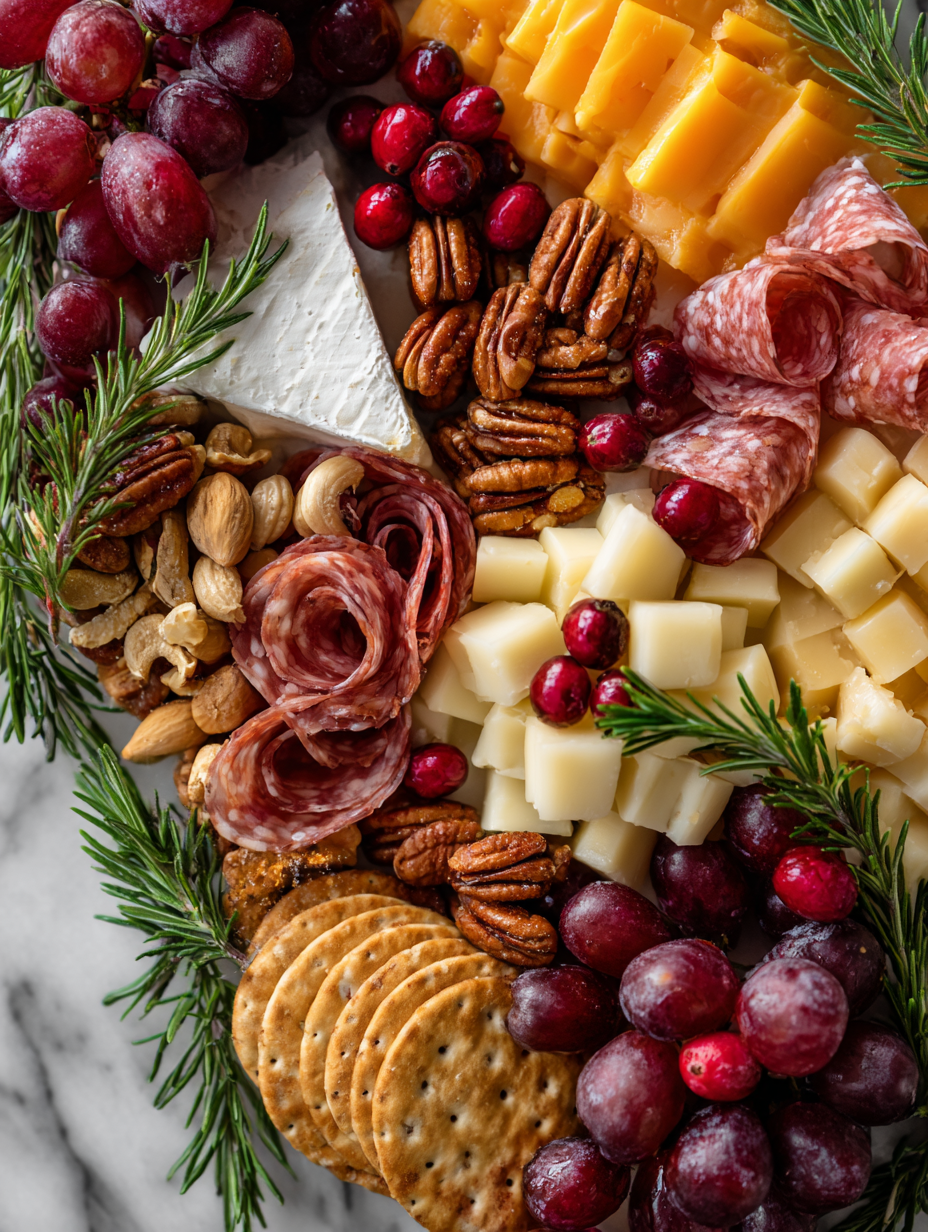
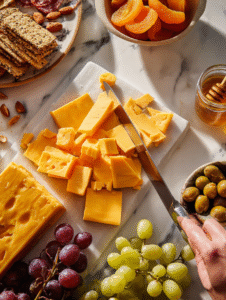
- Cheddar cheese: Creamy, sharp, and melts just right. Swap for Gruyère if you want a nutty twist or keep it simple with mild mozzarella.
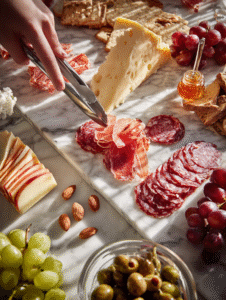
- Cured meats: Salami and prosciutto bring smoky, salty bites. For a leaner option, try turkey jerky or smoked chicken slices.
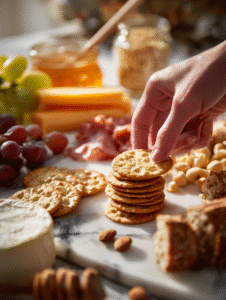
- Crackers and bread: Crunchy, neutral carriers that soak up dips. Rye crisps add earthiness, but water crackers are milder and light.
- Fresh fruit: Grapes and sliced apples add sweetness and brightness. Dried apricots or figs can deepen the flavor, especially when dried.
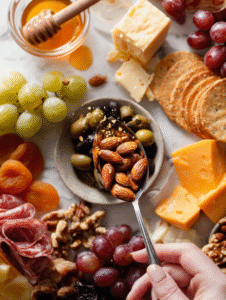
- Nuts and seeds: Roasted almonds or walnuts give crunch and richness. Toast them lightly for extra aroma, or skip for a softer bite.
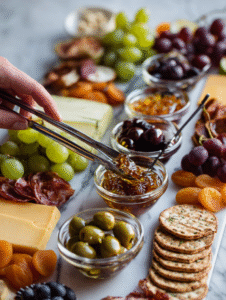
- Honey or jam: Sweet, sticky, and brightens everything. Lemon-honey is a good twist, but fig jam adds a richer, fruitier note.
- Pickles and olives: Salty, briny, and tangy. Use cornichons for sharpness or Kalamata olives for depth—just don’t overdo it.
Tools for a Perfect Snack Spread
- Large wooden platter: Serves as the base for arranging all the snacks, making it easy to move and display everything together.
- Cheese knives: Helps cut and serve cheese slices cleanly, without sticking or tearing.
- Small bowls or ramekins: Holds dips, jams, and pickles separately, keeping the board tidy and organized.
- Tongs: Allows for easy, hygienic picking of nuts, dried fruits, or crackers.
- Decorative picks or toothpicks: For spearing cheeses, meats, or fruit pieces, making serving more fun and accessible.
- Palette knife or offset spatula: Spreads soft cheeses or jams smoothly onto crackers or bread slices.
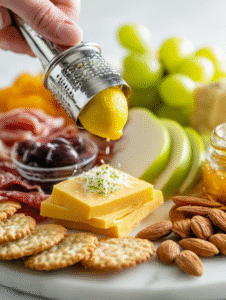
- Microplane or zester: Adds fresh lemon zest or nutmeg to cheese or fruit for extra brightness.
- Gather your tools: large platter, cheese knives, small bowls, tongs, picks, a palette knife, and a microplane. This keeps everything organized and ready to go.
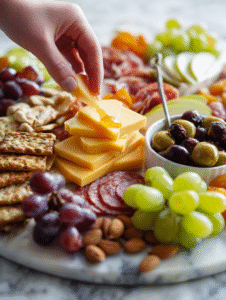
- Start with the cheeses: arrange slices or chunks across the platter, creating visual interest. Use different textures and colors for variety.
- Add cured meats: fold or roll slices to make them easy to pick, stacking or draping them alongside cheeses. Aim for a mix of smoky and mild flavors.
- Place crackers and bread: cluster them in accessible spots, leaving space for spreading or topping. Use a variety of shapes to add visual pop.
- Distribute fresh fruits: scatter grapes, apple slices, or dried figs. Brighten the board with some color and juiciness.
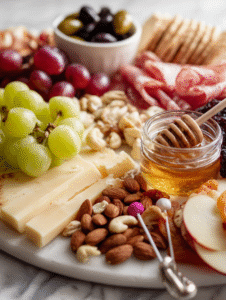
- Incorporate nuts and seeds: sprinkle roasted almonds or walnuts over open spots for crunch and richness. Toast lightly for enhanced aroma.
- Add dips, jams, and pickles: spoon into small bowls or ramekins. Position them near complementary items for easy dipping.
- Finish with final touches: decorate with decorative picks, zest some lemon over cheese for brightness, and step back to see balance.
- Let the board sit at room temperature about 15-20 minutes before serving, so flavors can mingle and everything is inviting.
- When ready, serve with small tongs or picks, encouraging guests to create their own bites from the spread.
Holiday Snack Board
Ingredients
Equipment
Method
- Begin by arranging your large wooden platter as the base, keeping space for all the components.

- Slice the cheese into chunks or slices and place them across the platter, mixing colors and textures for visual interest.
- Fold or roll the cured meats into small bundles or arrange in loose stacks beside the cheese for easy picking.
- Cluster crackers and bread in one or two spots, leaving enough space for spreading and nibbling.
- Scatter fresh grapes and apple slices around the board, adding pops of color and juiciness.

- Sprinkle roasted almonds over open areas for crunch, and lightly toast them beforehand for extra aroma.
- Place small bowls filled with honey, jams, pickles, or olives in accessible spots, ensuring they complement nearby items.
- Use decorative picks or toothpicks to add fun touches, making it easy for guests to serve themselves.
- Zest a little lemon or orange over the cheese and fruits using a microplane for a bright, fresh aroma.
- Adjust the placement if needed to ensure a balanced, inviting look, then let the board sit at room temperature for 15-20 minutes before serving to allow flavors to mingle.
- Serve with small tongs or picks, encouraging guests to create their own bites from the colorful, joyful spread.

Hi, I’m Jonny Andrew Miller, the cook, taster, and slightly messy mind behind Bite & Boom. I live in Austin, Texas, a city that smells like barbecue smoke, fresh tortillas, and late-night tacos if you wander long enough. It suits me.
