
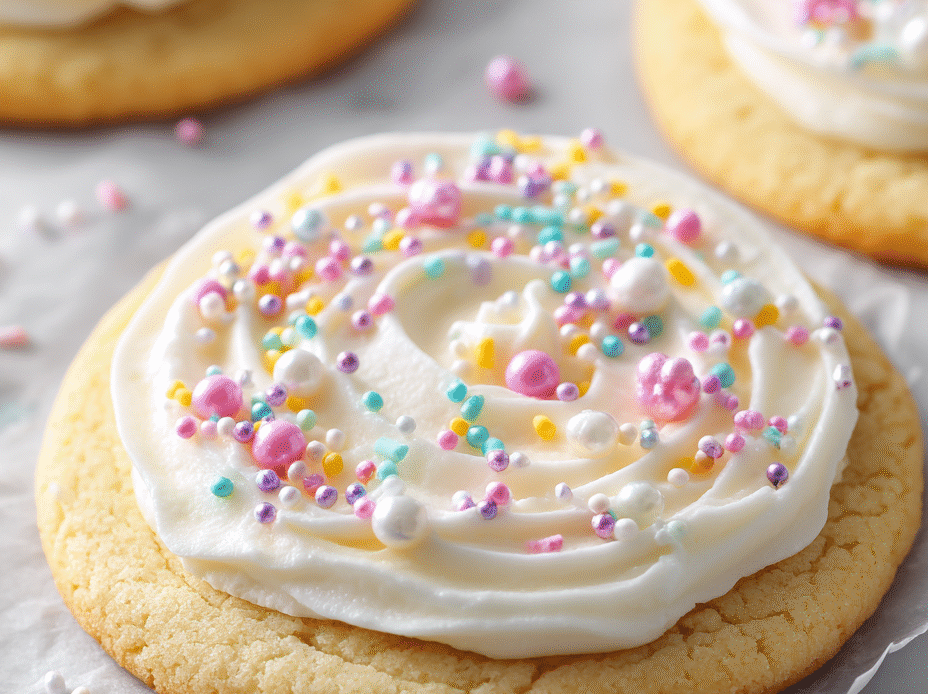
Achieving that perfectly smooth, fluffy sugar cookie frosting feels like a quiet victory in my kitchen. It’s about balancing sweetness with the right texture, so it melts just right on warm cookies without sliding off or becoming stiff. There’s a tiny science to it, but mostly, it’s about feeling your way through that silky, glossy finish.
This frosting isn’t just about looks; it’s about that moment when you spread it, watching it settle into a soft, inviting layer that invites you to take a bite. It’s nostalgic, yes, but also a small act of craft—something I keep refining, especially when I want my cookies to have that extra little touch of bakery-level smoothness.
Focusing on the art of achieving perfectly smooth, fluffy sugar cookie frosting that melts just right on warm cookies, blending nostalgia with a touch of kitchen science.
The story behind this recipe
- I remember the first time I tried making sugar cookie frosting that actually stayed smooth and didn’t turn grainy or slide off. It was a mess of trying different sugar types, butter, and patience. Eventually, I hit on a simple method that feels like a quiet secret, tucked inside my kitchen drawer of tricks.
- What keeps me coming back to this frosting is that perfect balance—sweet without being cloying, silky yet sturdy enough to hold a delicate cookie shape. It’s become my go-to for festive baking, especially when I want that shiny, bakery-quality finish. The process is almost meditative, every batch a small act of gentle science.
- heading: The story behind this recipe
Ingredient breakdown
- Powdered sugar: I like to sift mine to avoid lumps, which keeps the frosting silky. Skip this step if you’re in a rush, but be prepared for a slightly grainier texture.
- Butter: I use unsalted, softened to room temperature—about 20°C (68°F). Cold butter makes the frosting crackle when you spread it; melted butter feels greasy and dulls the shine.
- Cream cheese: Adds a tangy depth and stabilizes the frosting. Don’t overmix after adding it, or the texture gets runny and less fluffy.
- Vanilla extract: A splash brightens the sweetness and enhances flavor. Use a good-quality vanilla bean paste if you want more visual specks and richness.
- Milk or heavy cream: Just a teaspoon at a time, for perfect spreadability. Too much, and the frosting becomes thin and runny; too little, and it’s stiff.
- Food coloring: I prefer gel because it doesn’t thin out the frosting and gives a vibrant hue. Add a tiny drop at a time—less is more for that true color punch.
Spotlight on key ingredients
Powdered sugar:
- I sift mine to avoid lumps, which keeps the frosting silky. Skip this step if you’re in a rush, but be prepared for a slightly grainier texture.
- Butter: I use unsalted, softened to room temperature—about 20°C (68°F). Cold butter makes the frosting crackle when you spread it; melted butter feels greasy and dulls the shine.
- Vanilla extract: A splash brightens the sweetness and enhances flavor. Use a good-quality vanilla bean paste if you want more visual specks and richness.
Vanilla extract:
- Butter: I prefer unsalted, softened to avoid greasy spots and ensure a smooth, fluffy finish. Cold butter can cause streaks, while melted butter makes it too runny.
- Just a splash for depth. It’s the quick flavor boost that makes the frosting taste bakery-fresh and well-rounded.
Notes for ingredient swaps
- Dairy-Free: Swap butter for coconut oil or margarine. Expect a slightly different richness and a softer texture.
- Vegan: Use coconut butter or vegan margarine instead of butter. Flavors may be subtler, and the frosting might be less firm.
- Powdered Sugar: Almond or coconut sugar blended into a fine powder can work, but expect a slightly grainier finish.
- Cream Cheese: Use a dairy-free cream cheese alternative; it will add tang but may alter the smoothness.
- Vanilla Extract: Almond or lemon extract for a different flavor profile—use sparingly to avoid overpowering sweetness.
- Milk: Heavy cream can be replaced with almond or oat milk for a thinner frosting, or omit for a thicker consistency.
- Food Coloring: Natural options like beet juice or turmeric can tint frosting but may affect flavor and vibrancy.
Equipment & Tools
- Large mixing bowl: To hold and mix the frosting ingredients.
- Hand or stand mixer with paddle attachment: To beat and aerate the frosting smoothly.
- Spatula: To scrape down sides and transfer frosting.
- Piping bag with tips: To decorate cookies with precision and style.
Step-by-step frosting guide
- Gather your equipment: a large mixing bowl, a hand or stand mixer with a paddle attachment, a spatula, and a piping bag with tips for decorating.
- In the bowl, combine 1 cup (120g) unsalted butter, softened to room temperature. Beat on medium speed until creamy, about 2 minutes.
- Gradually add 3 cups (360g) powdered sugar, a half cup at a time, beating on low to prevent dust clouds. Mix until smooth and fluffy, about 3 minutes.
- Add 2 teaspoons vanilla extract and 1-2 tablespoons milk or heavy cream. Mix on low until incorporated, then increase to medium and beat until glossy and silky, about 2 minutes.
- If frosting is too thick, add a tiny splash more milk; if too thin, sprinkle in a little more powdered sugar. Check consistency by lifting the spatula—frosting should hold soft peaks.
- For color, add gel food coloring a tiny drop at a time. Mix until evenly distributed and the color is vibrant but not streaky.
- Transfer the frosting to a piping bag fitted with your preferred tip. Use immediately or cover with plastic wrap pressed directly onto the surface to prevent crusting.
- Let the frosting rest for 10–15 minutes if you want it to settle and smooth out before decorating your cookies.
- Apply the frosting with a gentle, even pressure, starting from the center and spreading outward for a clean, glossy finish.
- Finish by adding sprinkles or decorations immediately if desired. Allow cookies to sit at room temperature for 30 minutes before serving to set the frosting.
Cover the frosted cookies loosely with plastic wrap and let sit at room temperature for 30 minutes to set the frosting. For a shinier finish, lightly brush with a bit of edible glaze or gloss if desired.
How to Know It’s Done
- Frosting holds soft peaks when lifted with a spatula.
- Color is vibrant and evenly distributed without streaks.
- Frosting feels silky but firm enough to hold shape on cookies.
Silky Sugar Cookie Frosting
Ingredients
Equipment
Method
- Start by placing your softened butter in a large mixing bowl and beat on medium speed until creamy and pale, about 2 minutes. This creates a fluffy base for your frosting.
- Gradually add the sifted powdered sugar, a half cup at a time, beating on low to prevent dust clouds. Continue until the mixture is smooth, fluffy, and well combined, about 3 minutes.
- Add the softened cream cheese and vanilla extract, then beat on low until fully incorporated. The mixture should be silky and slightly fluffy.
- Pour in a tablespoon of milk or heavy cream and beat on medium speed. Check the texture—continue adding milk a teaspoon at a time until the frosting is glossy, smooth, and holds soft peaks.
- If you want to color your frosting, add gel food coloring a tiny drop at a time, mixing thoroughly after each addition until you reach your desired hue. The frosting should remain glossy and vibrant.
- Transfer the frosting into a piping bag fitted with your favorite tip. If not using immediately, cover with plastic wrap pressed directly onto the surface to prevent crusting.
- Once ready to decorate, hold the piping bag and gently press to apply an even layer of frosting onto your cookies. The frosting should spread smoothly and settle into a glossy, soft finish.
- Allow the frosted cookies to sit at room temperature for 30 minutes, letting the frosting set into a shiny, silky layer that melts softly on warm cookies.
Pro tips for perfect frosting
- Bolded mini-head: Use high-quality powdered sugar for a fine, silky texture that melts smoothly.
- Bolded mini-head: Beat the butter until creamy and pale—this aerates the frosting for fluffiness.
- Bolded mini-head: Add milk gradually; stop mixing once the frosting is shiny and holds soft peaks.
- Bolded mini-head: For vibrant color, use gel food coloring—less is more to avoid thinning the frosting.
- Bolded mini-head: Chill the frosting for 10 minutes before spreading—it helps achieve a smoother finish.
- Bolded mini-head: Use a spatula to scrape the bowl often—keeps the mixture even and prevents lumps.
- Bolded mini-head: If frosting feels too stiff, a tiny splash of milk will loosen it without losing structure.
Common mistakes and how to fix them
- FORGOT to sift powdered sugar → Sift to avoid lumps, keep frosting silky.
- DUMPED in all ingredients at once → Add gradually for even, fluffy texture.
- OVER-TORCHED the frosting → Keep mixer on medium, stop if it starts to look grainy.
- USED cold butter → Use softened butter for smooth, glossy frosting consistency.
Quick fixes and pantry swaps
- When frosting feels grainy → Splash a tiny bit of milk and beat until smooth.
- If frosting is too runny → Patch with a little more powdered sugar and chill briefly.
- When colors streak → Shield with a small amount of frosting and mix thoroughly.
- Dumped in cold butter → Rescue by beating in softened butter for gloss and smoothness.
- When frosting cracks on cookies → Smooth with a warm spatula or lightly rewarm for shine.
Prep, store, and reheat tips
- Prepare the frosting a day in advance. Whip it until smooth, then store in an airtight container in the fridge. It thickens slightly overnight and benefits from a quick stir before use, feeling silky and glossy again.
- Store leftover frosting in the fridge for up to 5 days. Cover tightly to prevent it from absorbing fridge odors. The texture might firm up, so let it sit at room temperature for 10 minutes and give it a quick beat to restore creaminess.
- Frosting freezes well for up to 3 months. Thaw overnight in the fridge, then stir vigorously to regain its fluffy, shiny consistency. It might look a little grainy at first but will smooth out with mixing.
- Reheat frosting gently if needed for spreading—place a small amount in a microwave-safe bowl, heat in 10-second bursts at 50% power, stirring between, until just soft and smooth. Don’t overheat or it’ll become runny and lose its structure.
Top questions about sugar cookie frosting
1. Should I sift the powdered sugar?
Use sifted powdered sugar for a silky, smooth frosting without lumps. Skip this, and it might feel gritty.
2. How do I know when the frosting is the right consistency?
Adding milk slowly until the frosting feels creamy and holds soft peaks is key. Too much makes it runny.
3. Can I use liquid food coloring?
Gel food coloring gives vibrant hues without thinning the frosting. Liquid coloring can make it too runny.
4. Does the butter need to be softened?
Room temperature butter (about 20°C or 68°F) creates a smooth, fluffy frosting. Cold butter causes cracks.
5. Should I chill the frosting before spreading?
For a shiny finish, chill the frosting for 10-15 minutes before decorating. It helps smooth out any bumps.
6. Can I prepare this frosting in advance?
This frosting can be made a day ahead and stored in the fridge, then whipped briefly before use.
7. What if my frosting is too stiff or too runny?
If it feels too stiff, add a tiny splash of milk and beat well. Too runny? More powdered sugar fixes that.
8. How do I keep the frosting smooth while mixing?
Use a spatula to scrape the bowl often to keep the mixture smooth and even during mixing.
9. How long can I store leftover frosting?
Storing in an airtight container in the fridge for up to 5 days works well. Bring to room temp and stir before using.
10. How do I fix cracks or tears in frosting?
If frosting cracks or tears, warm a spatula slightly and gently smooth the surface for a glossy finish.
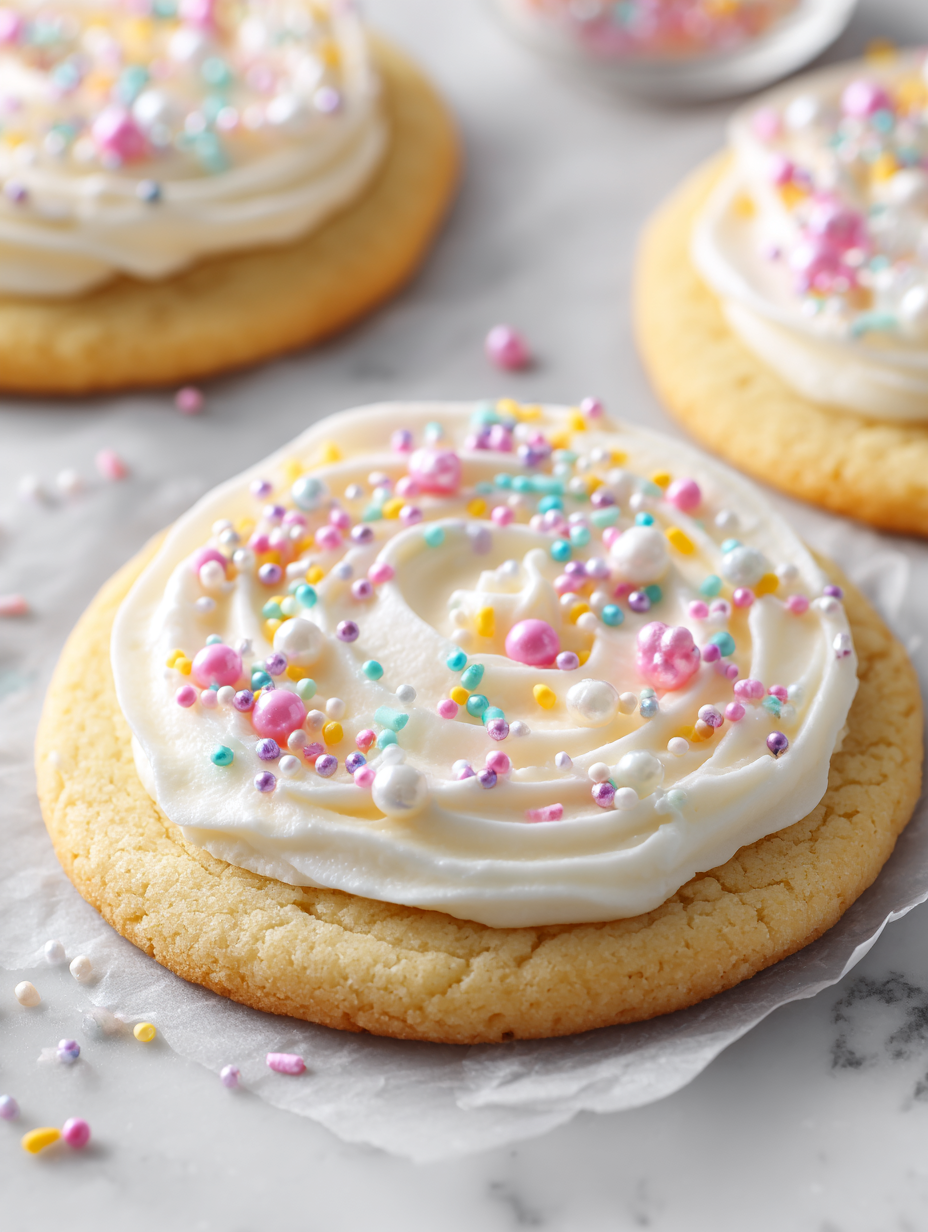
This frosting isn’t just about making cookies look pretty; it’s about that perfect melt-in-your-mouth moment. When the glossy surface catches the light and the flavor hits just right, I feel a quiet satisfaction that’s hard to beat.
In the end, it’s the small details—those silky texture and balanced sweetness—that make this recipe special. It’s a simple act of care that turns everyday baking into a little celebration, especially when you need a reliable, crowd-pleasing finish.

Hi, I’m Jonny Andrew Miller, the cook, taster, and slightly messy mind behind Bite & Boom. I live in Austin, Texas, a city that smells like barbecue smoke, fresh tortillas, and late-night tacos if you wander long enough. It suits me.
