
Setting up for beer can chicken means lining up your tools: a sturdy grill, a clean beer can, and a well-rinsed bird. You’ll feel the cold of the chicken skin against your palms as you pat it dry, readying it for seasoning and the upright stance.
Once the chicken is perched on that beer can, it’s all about steadying it on the grill. The crackle of the skin as it crisps up, and the steady drip of juices down the sides, are the sounds that mark the process from raw to roasted.
The crackle of the skin as you carve into the crispy, smoky chicken, the sound echoing in the quiet backyard.
What goes into this dish
- Whole chicken: I pick a bird with a good layer of fat under the skin; it keeps the meat juicy. Skip if you’re into smaller cuts, but the flavor won’t be the same. The skin should feel firm and plump.
- Beer: Use a full can of lager or ale, not light beer. The yeasty, malty aroma helps create that smoky, moist environment inside. Swap for soda if you want a sweeter profile, but the flavor shifts.
- Herbs and spices: I go heavy on paprika, garlic powder, and thyme—these boost the smoky notes. Feel free to tweak with chili powder or herbs de Provence for different vibes. Fresh herbs work, but dried are easier to handle.
- Salt and pepper: Generous seasoning under and over the skin is key. Use coarse sea salt for a crunch, or go lighter with table salt if you prefer a subtler saltiness. Pepper adds that earthy heat.
- Oil or butter: I rub the outside with olive oil or melted butter for crispness. Skip if you’re watching calories, but the skin won’t get that satisfying crunch without it. The fat also helps the seasoning stick.
- Extras: Lemon wedges or onion halves go inside the cavity for brightness and moisture. Skip if you’re not into citrus or want a simpler bird. They release a fragrant steam that permeates the meat.
- Wood chips (optional): A handful of soaked wood chips tossed onto the coals adds smoky depth. If you’re grilling indoors, skip this or use a smoker box. The aroma of burning wood makes all the difference.
Beer Can Chicken
Ingredients
Equipment
Method
- Pat the whole chicken dry with paper towels, feeling the skin's firmness and plumpness. Rub it all over with olive oil, then generously season the outside and under the skin with paprika, garlic powder, thyme, salt, and pepper. Let it rest for 10-15 minutes.
- Open the beer can and pour out a small amount, then insert lemon wedges and onion halves into the cavity if using. Carefully place the chicken upright on the beer can, balancing it securely with the legs on the grill grates.
- Preheat your grill to medium-high heat, aiming for around 375°F. Place the chicken standing upright on the grill over indirect heat, ensuring the beer can supports it steadily.
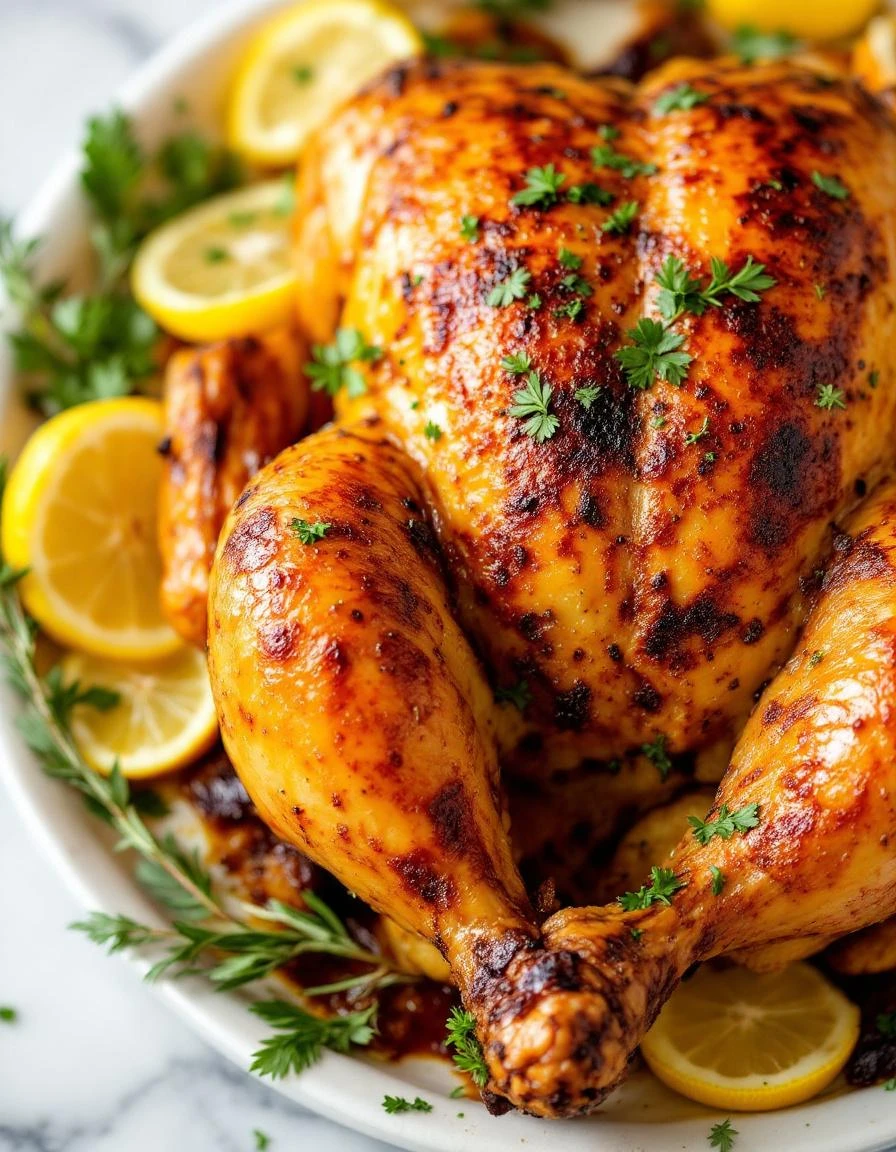
- Close the lid and cook for about 75 minutes, or until the skin is deep golden and crispy. During cooking, listen for the crackling sound of the skin crisping up and smell the smoky aroma filling the yard.
- Check the internal temperature by inserting a meat thermometer into the thickest part of the thigh; it should read 165°F. If needed, cook a little longer until the perfect temperature is reached and the juices run clear.
- Using tongs and a heat-resistant glove, carefully remove the chicken from the grill and let it rest for 10 minutes. Be prepared for the crackling sound of the skin as you carve into the crispy, smoky chicken.
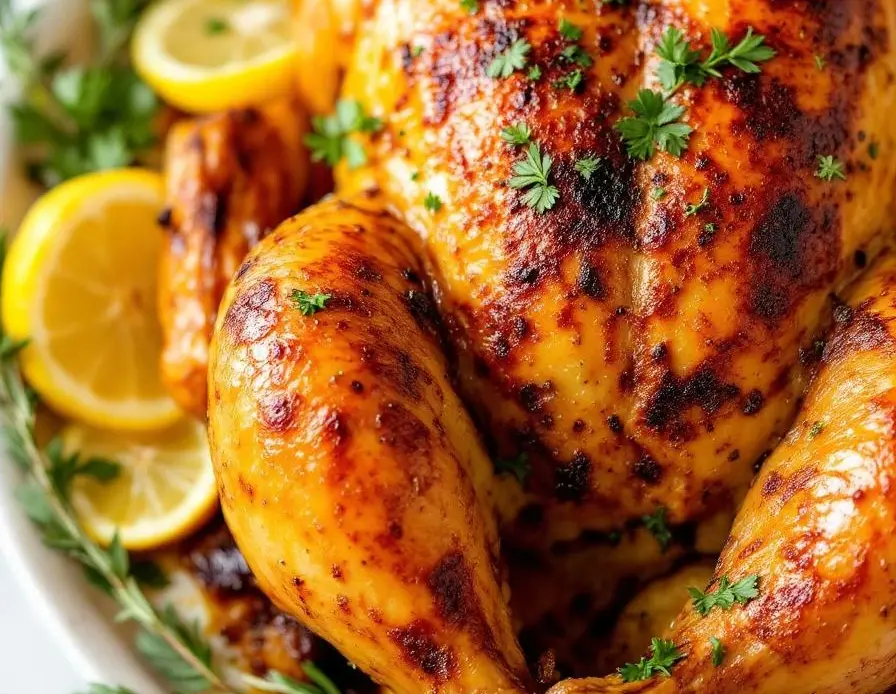
- Carve the chicken into pieces, revealing juicy, tender meat beneath a crisp, crackly skin. Serve hot, and enjoy the smoky flavor and satisfying crunch with your favorite sides.
Common Mistakes and How to Fix Them
- FORGOT to check the chicken’s internal temp; fix with a quick thermometer insertion.
- DUMPED too much oil; wipe excess to prevent flare-ups and uneven crisping.
- OVER-TORCHED the skin; lower grill heat or move the bird to indirect heat.
- MISSED seasoning under the skin; loosen skin carefully and season directly for flavor.
Make-Ahead and Storage Tips
- You can prep the seasoning rub and apply it a day ahead; keeps flavors vibrant and the skin crispy.
- Chickens can be kept uncovered in the fridge for up to 24 hours before grilling, which helps dry out the skin for better crackle.
- The beer can and cavity aromatics can be assembled hours in advance; just keep everything chilled until ready to cook.
- Leftover cooked chicken stores well in the fridge for 3-4 days; reheat in oven until skin re-crisps and juices heat through, about 15 minutes at 350°F.
- Freezing cooked or raw chicken is fine for up to 3 months, but the texture may shift slightly. Thaw in fridge overnight before reheating.
FAQs
1. What does the crispy skin sound like?
The skin crackles loudly as it crisps up, filling the yard with a smoky aroma that makes your nose tingle.
2. How does the meat feel when cooked right?
The meat stays juicy and tender inside, while the outside gets a satisfying crunch that crackles when you carve.
3. How do I know when it’s done?
Look for a deep golden-brown color and a smoky aroma. The juices should run clear when pierced at the thigh.
4. What’s the best way to check doneness?
Use a meat thermometer inserted into the thickest part of the thigh; it should read 165°F (74°C).
5. How do I reheat leftover chicken without losing the crunch?
Reheat in the oven at 350°F until the skin re-crisps and the meat is hot and fragrant, about 15 minutes.

Hi, I’m Jonny Andrew Miller, the cook, taster, and slightly messy mind behind Bite & Boom. I live in Austin, Texas, a city that smells like barbecue smoke, fresh tortillas, and late-night tacos if you wander long enough. It suits me.
