
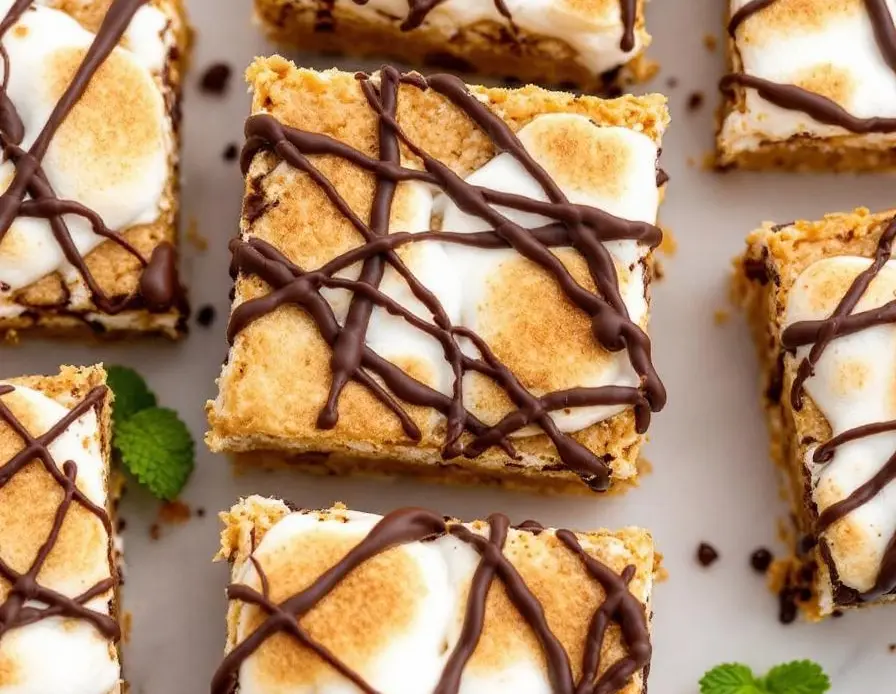
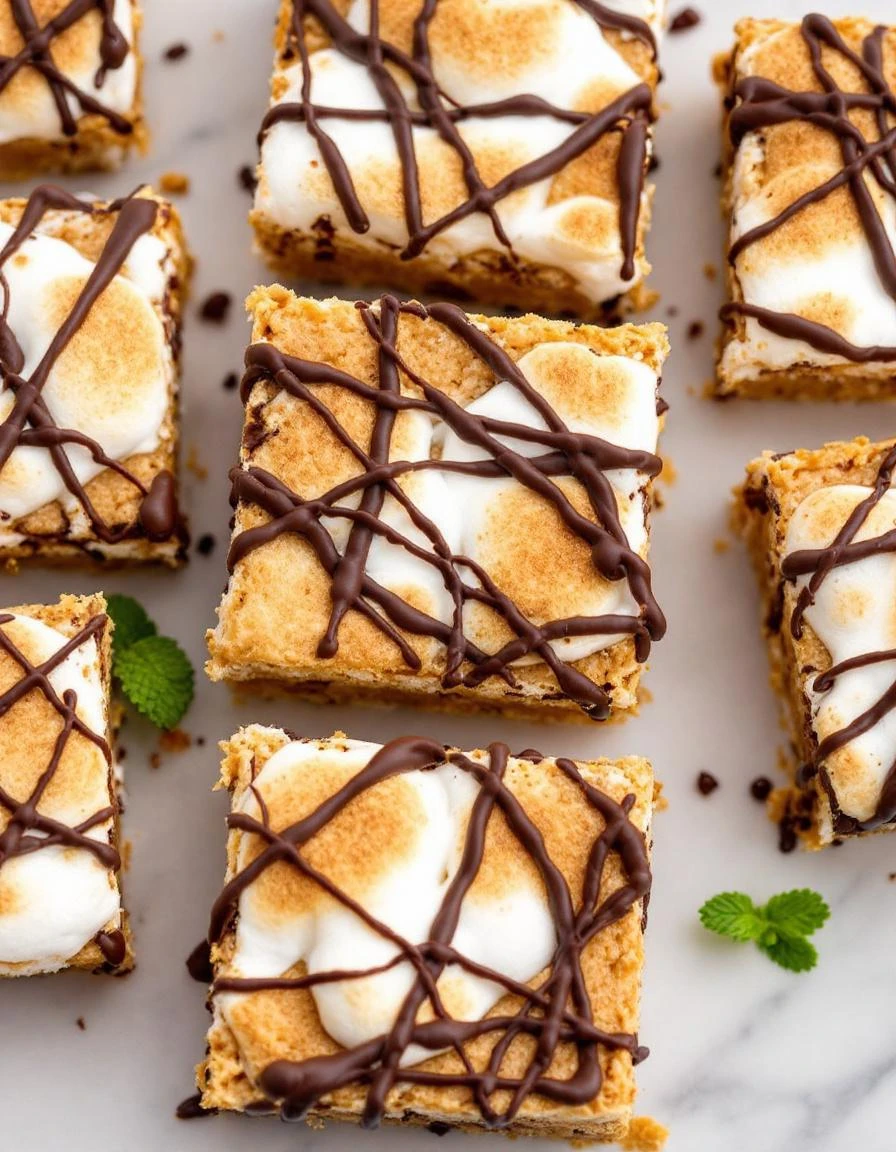
Making S’mores Bars starts with crushing graham crackers into coarse crumbs, then pressing them into the bottom of a baking pan. You’ll spread a layer of melted chocolate over the crust, followed by gooey marshmallows that need a quick torch or oven browning.
Watching the marshmallows puff up and turn golden brown, you’ll feel that satisfying crunch as you cut through layers, revealing the sticky, melty interior. It’s a messy, hands-on process that rewards with every bite and every crumb left on your fingers.
The crackle and snap of toasted marshmallows as you bite into the bars, each chew releasing a smoky, gooey mess that sticks to your teeth.
Key Ingredients and Substitutes
- Graham crackers: I crush these into coarse crumbs — a satisfying, slightly dusty task that forms the sturdy base. Skip the crackers and try digestive biscuits for a richer, buttery flavor.
- Butter: Melted butter binds the crust; it’s the secret to that tender, crumbly texture. Use vegan butter or coconut oil if dairy’s not your thing, but expect a different richness.
- Chocolate: I prefer semi-sweet chocolate chunks for that deep, bittersweet punch. Swap in milk chocolate for sweetness or dark for a more intense, smoky flavor—just watch it melt smoothly.
- Marshmallows: Puffy, sticky, and slightly smoky when toasted. You can try vegan marshmallows for a similar gooey experience, but they tend to be a little less elastic and oozy.
- Optional add-ins: A sprinkle of sea salt on top before baking enhances chocolate and marshmallow flavors. For a crunch, toss in chopped nuts or crushed pretzels—just don’t overdo it.
- Vanilla extract: Adds a subtle depth to the marshmallow layer. Skip if you’re all about simplicity, but it really boosts that warm, sweet aroma as it bakes.
- Spray or parchment: I lightly spray my pan or line it with parchment to keep cleanup easy. Skipping this means more scraping, and nobody needs that on their day off.
S'mores Bars
Ingredients
Equipment
Method
- In a mixing bowl, combine graham cracker crumbs and melted butter, stirring until evenly coated and the mixture resembles wet sand.
- Press the graham cracker mixture firmly into the bottom of a lined or lightly greased baking pan, creating an even crust layer.
- Spread the semi-sweet chocolate chunks evenly over the crust, gently pressing them down so they nestle into the crust layer.
- Bake the crust with chocolate in the oven at 350°F (175°C) for about 8-10 minutes, or until the chocolate is just starting to melt and bubble.
- Remove the pan from the oven and immediately sprinkle the marshmallows evenly over the melted chocolate layer, covering all the chocolate surface.
- Using a kitchen torch or placing the pan under the broiler, toast the marshmallows until golden brown and slightly smoky, about 1-2 minutes. Keep a close eye to prevent burning.
- Let the bars cool completely in the pan for at least 2 hours or until the marshmallows are firm and set.
- Use a sharp knife to cut the bars into squares, wiping the blade between cuts for clean edges.
- Enjoy the sticky, crispy, melty layers with a perfect balance of crunch and gooeyness in every bite.
Common Mistakes and How to Fix Them
- FORGOT to set a timer for marshmallow toasting? Use visual cues like bubbling and golden tops.
- DUMPED marshmallows directly in the pan? Toast them separately for even, smoky perfection.
- OVER-TORCHED the marshmallows? Scrape off burnt bits and extend toasting time with closer supervision.
- MISSED the chill after baking? Refrigerate for at least 2 hours to help bars set firm.
Make-Ahead and Storage Tips
- Prepare the crust and press into the pan a day ahead; it firms up nicely overnight.
- Store unbaked bars in an airtight container in the fridge for up to 24 hours before adding marshmallows.
- Baked bars can be chilled for 2-3 days, which helps them set and makes cutting easier.
- Reheat in a low oven or microwave until marshmallows are just warm and gooey again—listen for that soft, melty crackle.
- The flavors deepen slightly after a day, with marshmallows developing a slight caramel note and chocolate intensifying.
- For best texture, serve within 1-2 hours after reheating; marshmallows may firm up if cooled.
FAQs
1. How do I cut neat bars?
Use a sturdy, heatproof spatula to lift pieces without breaking them. The edges will be crispy, and the gooey center melts in your mouth with a soft chew.
2. Should I refrigerate before cutting?
Chill the bars in the fridge for at least 2 hours. The marshmallows will firm up, making cutting less sticky and more satisfying.
3. How do I toast marshmallows properly?
Toast marshmallows until golden and slightly smoky, then spread quickly. The aroma of caramelized sugar and roasted marshmallows fills the air.
4. Can I reheat the bars?
Reheat in a low oven or microwave for a few seconds until marshmallows regain their meltiness. Expect that soft crackle and gooey stretch with each bite.
5. Can I use different chocolate types?
Use semi-sweet chocolate for a balanced flavor. Dark chocolate adds depth, while milk chocolate makes it sweeter and creamier, both offering a rich, velvety melt.

Hi, I’m Jonny Andrew Miller, the cook, taster, and slightly messy mind behind Bite & Boom. I live in Austin, Texas, a city that smells like barbecue smoke, fresh tortillas, and late-night tacos if you wander long enough. It suits me.
