
Making vanilla bean ice cream is all about the slow, steady heat of milk and cream, watching for that gentle simmer that signals it’s just right. No rush, no boiling over—just a quiet, almost meditative process that keeps everything smooth.
Straining out the vanilla bean bits and then churning the mixture until it thickens—your arms might get a workout—brings a sense of real, tangible progress. It’s a messy, hands-on task, but the reward is seeing that creamy base turn into something solid and cold in the freezer.
Listening closely to the gentle simmer of milk and cream, hearing the soft bubbles and faint hiss as it warms, is a quiet reassurance that the base is just right—never boiling over, just a slow, almost meditative heat.
What goes into this dish
- Heavy cream: I love the richness it brings, almost like butter melting on the tongue. You can swap in half-and-half for a lighter version, but it won’t be as velvety.
- Whole milk: I prefer whole for depth, but skim works if you want less fat—just expect a slightly thinner texture and less creamy bite.
- Sugar: Granulated is standard, but honey or maple syrup can add a subtle flavor twist—just reduce the liquid slightly to compensate.
- Vanilla beans: Fresh beans give that intense, fragrant speckled look and aroma, but good quality vanilla extract can substitute in a pinch, though it lacks the visual punch.
- Salt: Just a pinch makes the vanilla pop—skip it if you’re watching sodium, but it really balances the sweetness.
- Egg yolks: They thicken the custard and add richness; for an egg-free version, try coconut milk and a thickener like cornstarch but expect a different texture.
- Optional add-ins: Think a splash of bourbon or a handful of chopped nuts stirred in before freezing—these give the ice cream a little extra personality.
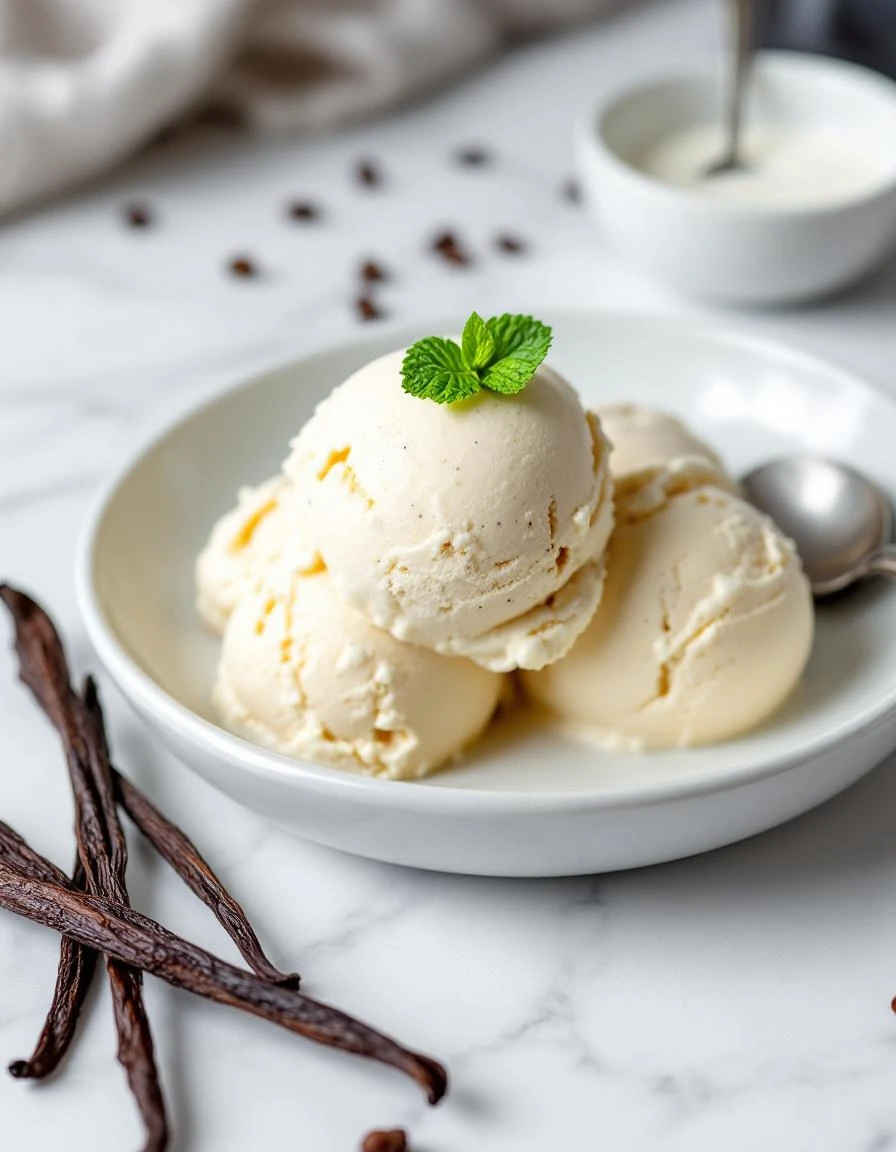
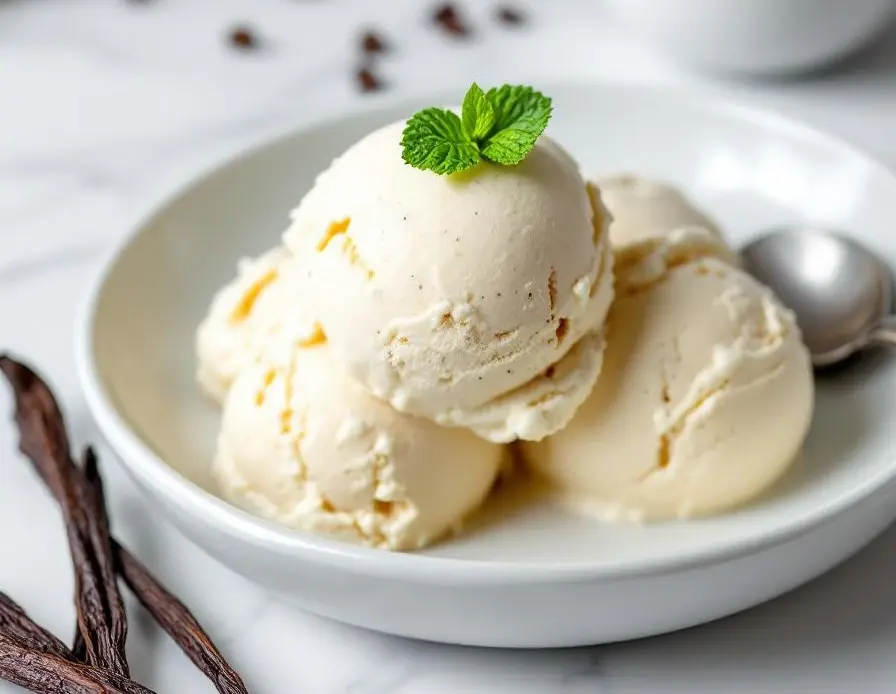
Vanilla Bean Ice Cream
Ingredients
Equipment
Method
- Measure out the heavy cream and whole milk, then pour both into a saucepan.
- Split the vanilla beans lengthwise, then scrape out the seeds with the back of a knife and add both seeds and pod to the saucepan.
- Warm the mixture over low heat, gently simmering until tiny bubbles form around the edges—do not let it boil, just a soft hiss and faint bubbling.
- While the mixture heats, whisk the egg yolks and sugar in a separate bowl until smooth and slightly pale, about 2 minutes.
- Once the milk mixture is steaming and fragrant, remove the vanilla pod and slowly pour a ladle of the hot liquid into the egg yolks, whisking constantly to temper the eggs.
- Pour the tempered egg mixture back into the saucepan with the remaining milk and cream, stirring gently.
- Cook the custard over low heat, stirring constantly with a wooden spoon or spatula, until it thickens enough to coat the back of the spoon—about 5-7 minutes.
- Remove from heat and strain the custard through a fine sieve into a clean bowl to remove vanilla pod remnants and any cooked egg bits.
- Cover the bowl with plastic wrap, pressing it directly onto the surface of the custard, and refrigerate for at least 4 hours or overnight until thoroughly chilled.
- Once chilled, churn the custard in an ice cream maker following the manufacturer’s instructions until it reaches a soft-serve consistency.
- Transfer the soft ice cream to a freezer-safe container, smoothing the top with a spatula, then freeze for at least 4 hours to firm up.
- Serve the vanilla bean ice cream scooped into bowls, enjoying its velvety texture and rich vanilla aroma.
Common Mistakes and Fixes
- FORGOT to chill the custard before churning? Freeze it for at least 4 hours to prevent melting.
- DUMPED in too much vanilla extract? Use a teaspoon for a balanced, fragrant flavor.
- OVER-TORCHED the milk and cream? Keep heat low and stir constantly to avoid scalding or curdling.
- FAILED to stir during freezing? Every 30 minutes, scrape the edges and mix well to prevent ice crystals.
Make-Ahead and Storage Tips
- Prepare the custard base a day ahead; it tastes better after resting overnight in the fridge.
- Freeze the churned mixture for at least 4 hours, or overnight, for a firm, scoopable texture.
- Flavors may deepen after a day or two in the freezer; vanilla’s aroma becomes more pronounced and inviting.
- Reheat slightly in the microwave if needed—warm enough to soften, but not hot—then scoop with a chilled spoon.
- Keep covered in an airtight container to prevent freezer burn and absorption of other fridge odors.
FAQs
1. How do I serve it without melting?
Use a chilled spoon to scoop the ice cream. It helps prevent melting and keeps textures smooth and firm on your tongue.
2. How should I thaw or soften it?
If it’s too hard straight from the freezer, let it sit at room temperature for 5-10 minutes. The creamy smell will perk up as it softens slightly.
3. How do I store leftover ice cream?
Store in an airtight container, pressing a layer of parchment on top. That way, it doesn’t pick up freezer odors and stays creamy.
4. Can I use vanilla extract instead of beans?
Using fresh vanilla beans gives a brighter, more aromatic flavor. But vanilla extract works in a pinch, just expect a subtler scent.
5. How do I avoid icy crystals in the ice cream?
Yes, stirring every 30 minutes during freezing prevents ice crystals from forming, keeping it smooth and scoopable without any graininess.

Hi, I’m Jonny Andrew Miller, the cook, taster, and slightly messy mind behind Bite & Boom. I live in Austin, Texas, a city that smells like barbecue smoke, fresh tortillas, and late-night tacos if you wander long enough. It suits me.
